Growing Kūmara from Tipu

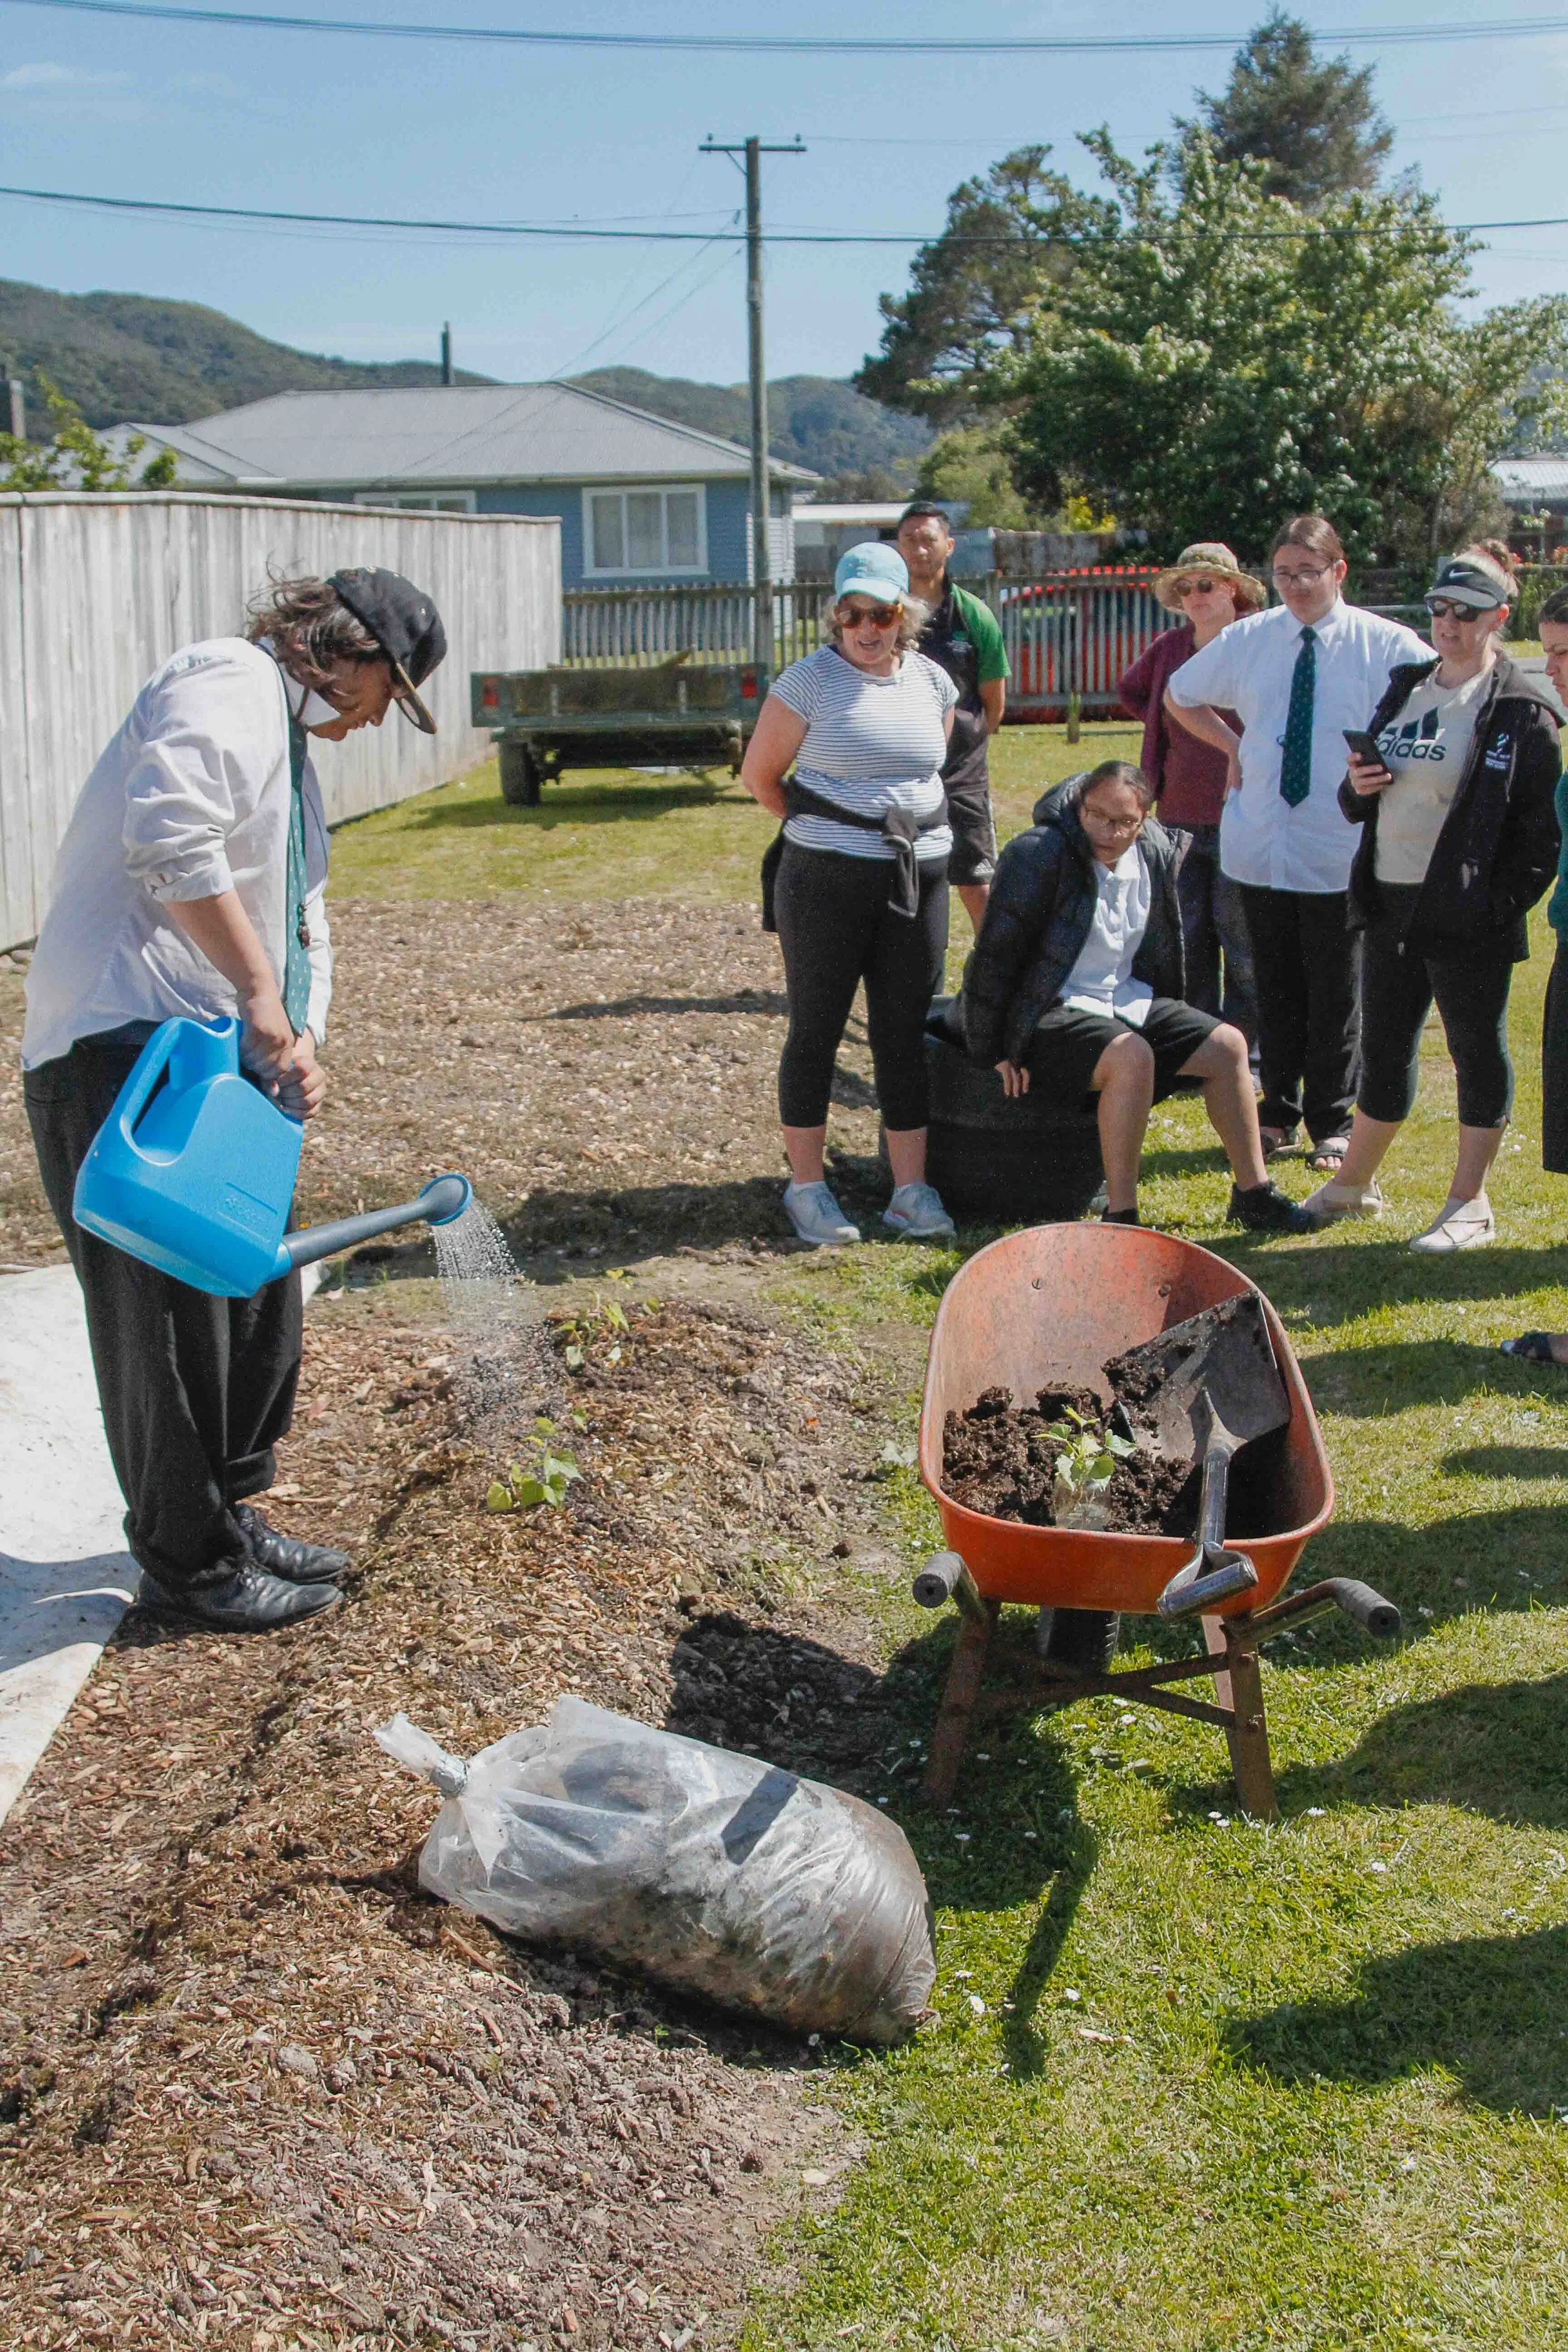
Mātauranga: This knowledge was passed from Sandy a local Wainuiomata resident and Ed who is kaitiaki of the Kokiri Marae Pātaka māra, in Wainuiomata. These techniques were shared in a wānanga run in late October, when the soil had warmed.
Sharing this knowledge of the connection between kūmara and Aotearoa to ensure this knowledge is passed on and shared.

Starting tipu from a Seed Kūmara
To grow kūmara, you have to first grow kūmara tipu/slips. These are the sprouts that come off of the kūmara.
There are many different ways to grow your Kūmara tipu/ slips.
The two methods that we used were in water or soil/ sand mixture

1. Water - Submerge ½ the quantity of a kūmara in a jar of water, point the kūmara downwards, and leave until tipu/ slips form. If the tipu are starting to appear stressed (yellowing or browning) then add a bit of fertilizer like worm wee. And change the water regularly.
2. Soil - Place a small layer of sand in a container, add kūmara, and then cover with a mixture of sand, soil, brown leaves, and grass clippings and then add more sand on top to compact the layler's down.
Water well. Place the container in a plastic bag and place is a warm spot until tipu show. Approx 2 months.
kūmaras sprout after they break dormancy. You can encourage your kūmara to break dormancy by putting it in a warm room in either a glass of water or some soil.

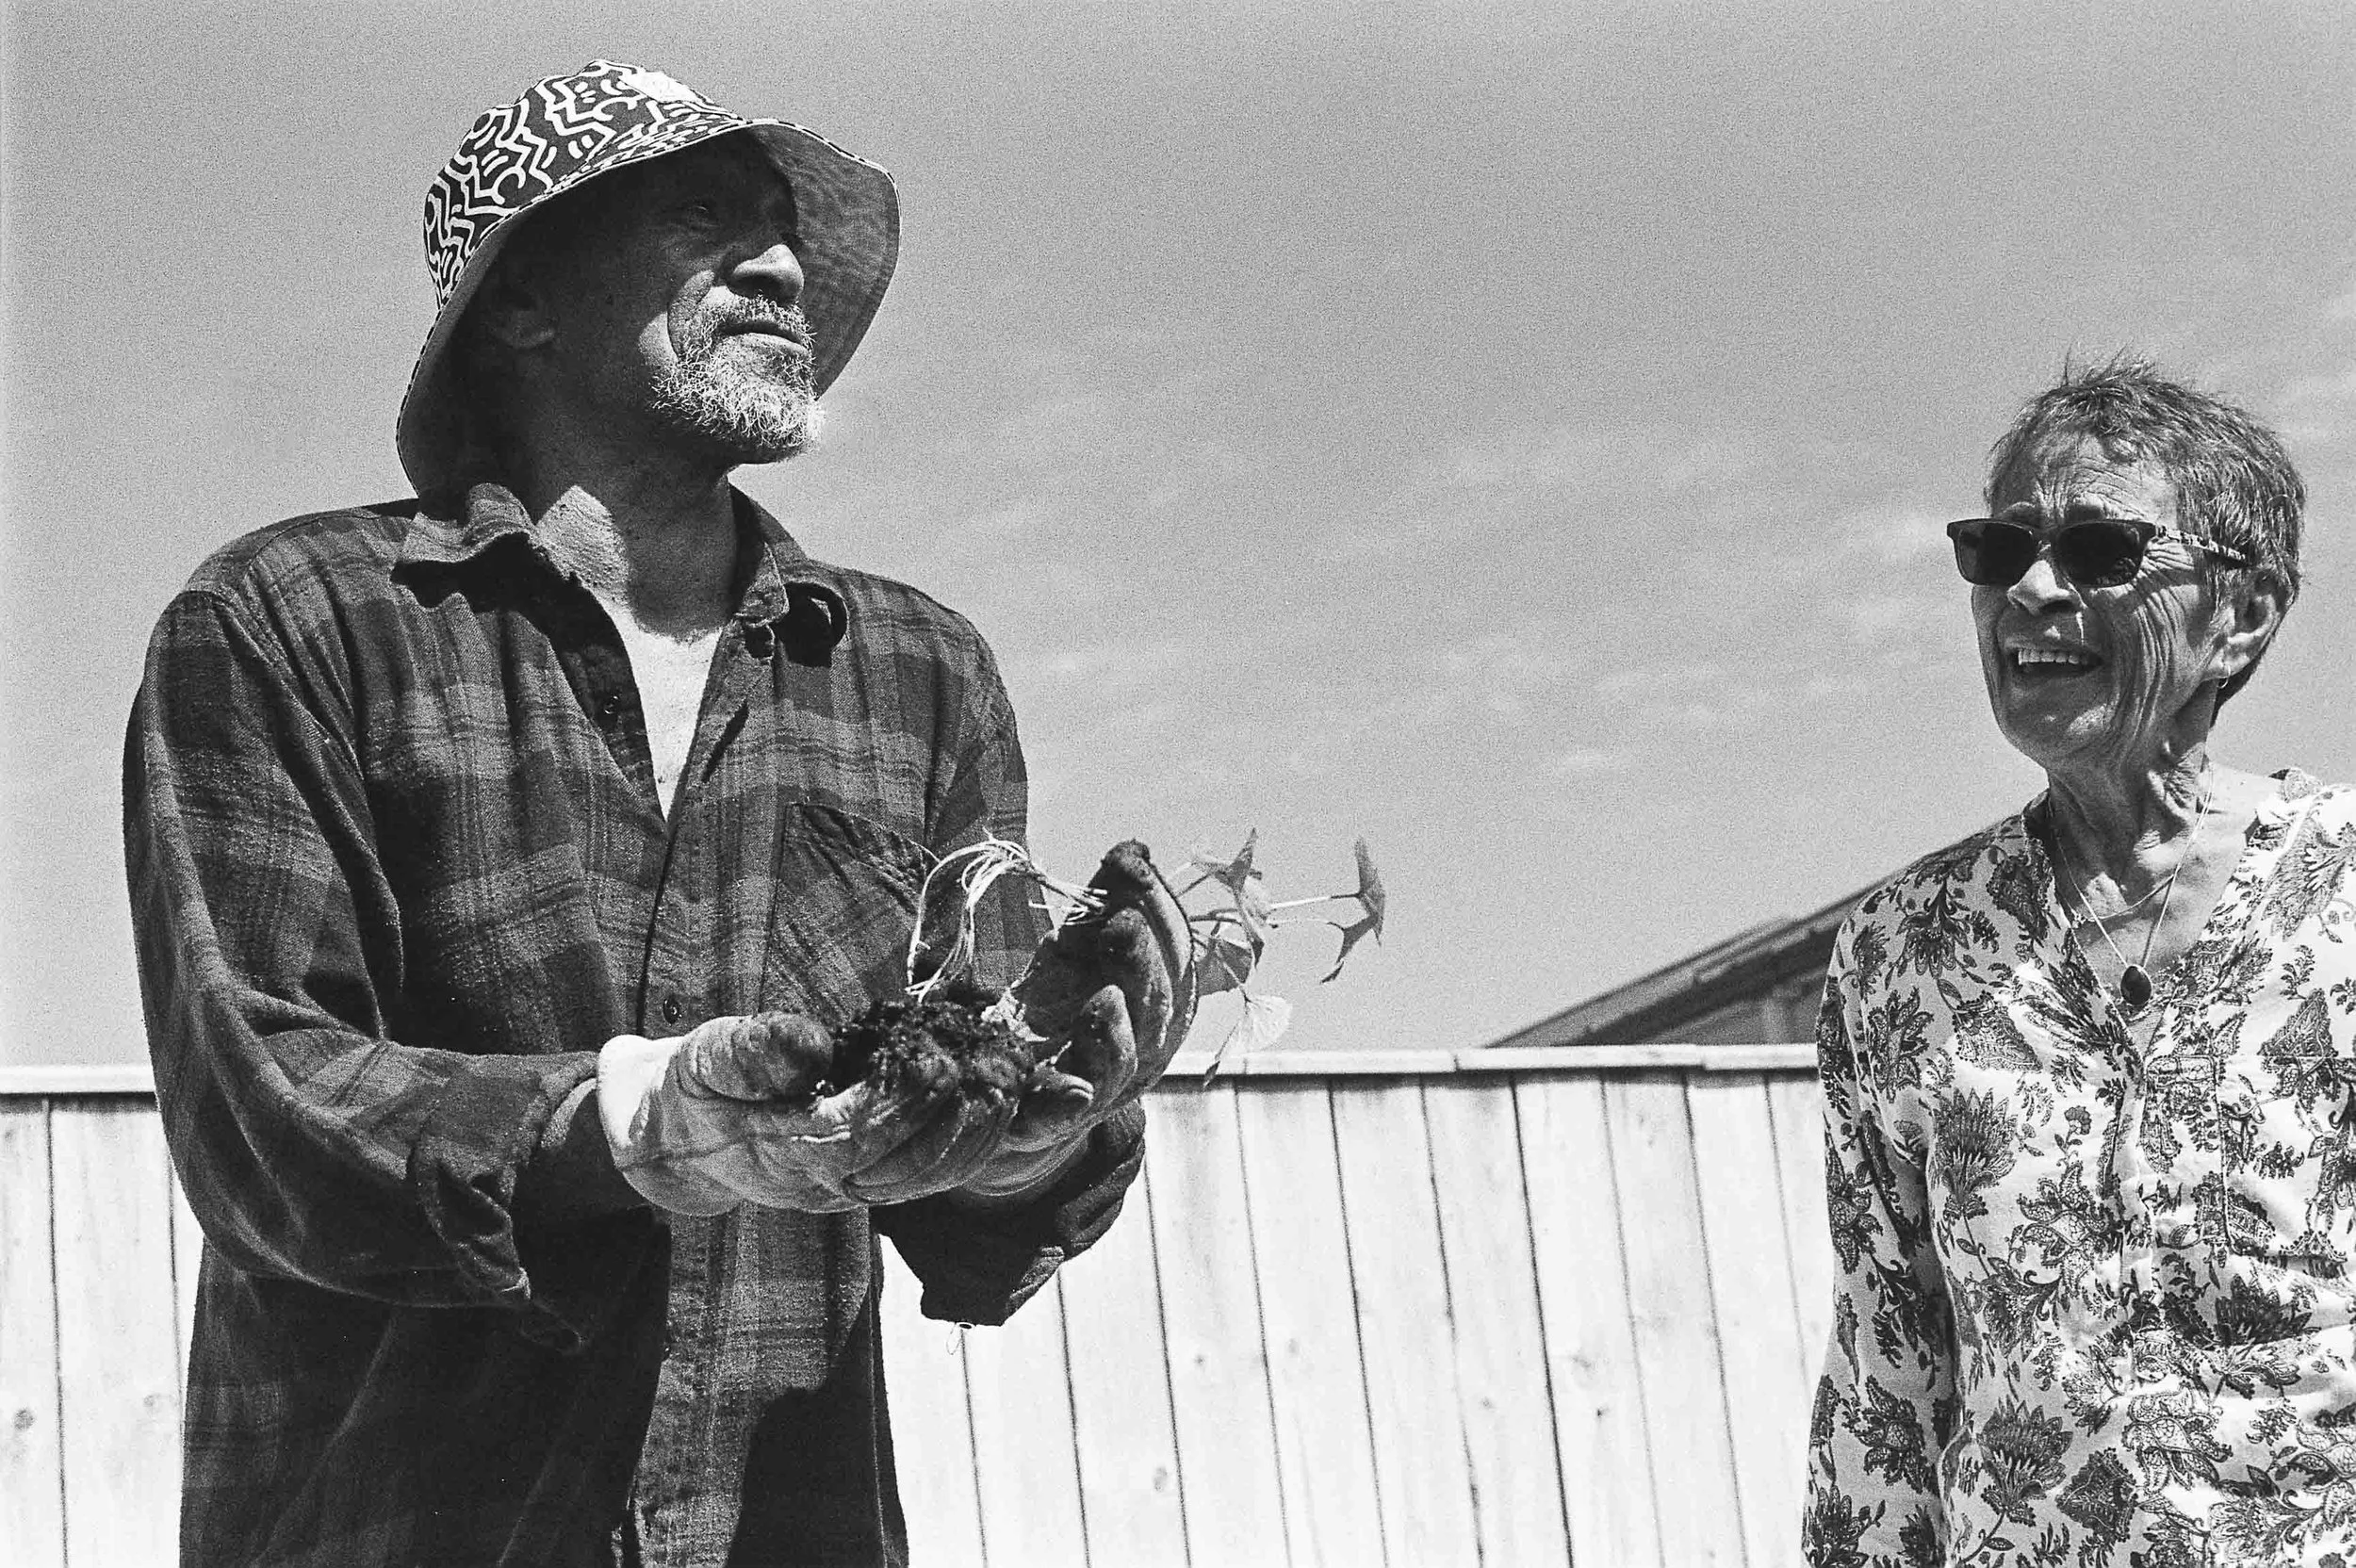
Taking the tipu off the kākano and Helping it develop strong roots
Do this mahi in the late evening not in the daytime as not to dehydrate the tipu
Remove the tipu from the base of the seed kūmara, put in straight back into the same soil the seed kūmara and keep the soil warm, and moist for a few days to grow stronger roots.
☆ Tip From Teina- Maramataka, full moon to Takirau is a good time for this part then planting out in the tangaroa moons for stage. Energy for the marama is being pulled towards the puku of the whenua so this feeds the roots and makes for stronger growth systems.


Preparing the bed
Bed - When planting your Kumara tipu directly into Your Māra it's best to plant them in Mounded rows.
Each row can be made up of layers consisting of, manure, lots of grass clippings, compost, river sand, and straw/hay to keep the soil moist and warm. Kūmara Thrives of a warm inverrment!
One kūmara seed will easily provide enough tipu for about a 3-4 m long bed
2. Bucket - Growing in buckets, use what is available, make sure it has lots of holes for drainage. Lots of manure, rich compost, sand, and mulch for topping. Again Kūmara warmth so place the bucket in full sun.

Planting the tipu
All tipu need to be planted in a J shape so the kūmara will grow sideways not grow down deep
Shape the tipu into a J shape and mold the tipu in horse manure or compost. Make a hole in your bed and face the J end towards where the sun rises/east. Add more compost around the tipu. Plant aprox 15cm apart (finger tip to elbow).
Plant in the late evening not in the daytime, - because the soil is warmer in the evening time (this is whakapapa kōrero passed down from sandy’s nanny) don’t plant in the morning as the soil is cold. Don’t in the daytime as you can burn the baby tipu and the soil is still too cold.
☆ Tip From Teina- Tangaroa marama is the best time for planting out tipu. High energy and high vibrational marama. The energy of Marama is heading towards Whiro and drawing water to the roots of the Whenua.